

Although the bobbin looks small, it is a very critical component in the sewing machine, equivalent to the "heart of the stitches". It is responsible for providing the bottom line and matching the top thread to sew neat and beautiful stitches. If the bobbin is installed incorrectly, it may cause jumpers, broken threads, or even jamming the machine, affecting the sewing effect. Don't worry, as long as you master the right method, installing bobbin is actually not difficult. Below we will teach you how to operate step by step, even novices can easily learn!
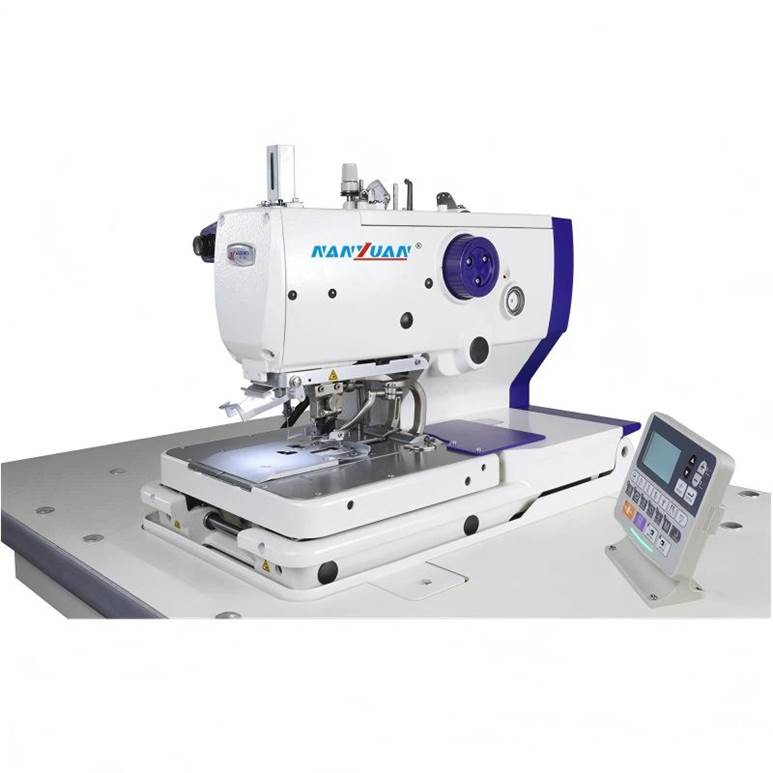
Step 1: Choose the Right Bobbin and Thread
Different sewing machines use different bobbins, and not all bobbins can be universal. Many novices often use the wrong model when installing bobbins for the first time, resulting in poor sewing and even machine jamming.
Common bobbin types:
·Household sewing machines (such as Singer, Brother, Nanyuan): Generally use 15 gauge plastic bobbin, and some older models may use metal bobbins.
·Industrial sewing machines: usually use L-shaped or M-shaped large-capacity bobbins, suitable for sewing thick fabrics or thick threads.
Choose sewing thread according to the fabric:
Different fabrics should use threads of different thicknesses so that they will not break or wrinkle when sewn.
Fabric type recommended thread number:
·Thin cloth (such as silk, chiffon): 50~60 fine thread
·Ordinary fabrics (such as cotton, linen) :No. 40 universal thread
·Thick cloth (such as denim) :30~20 thick thread
Tips for operation:
First look at the instructions for the sewing machine to confirm which bobbin you need. After choosing the thread, you can cut a short section of thread to see if it can pass through the small hole in the bobbin smoothly.
Step 2: Wind the Bobbin Evenly
Most sewing machines have a winding function, and the operation is actually very simple, just pay attention to a few key points.
Winding steps:
·Attach the empty bobbin to the spool to ensure it can rotate freely.
·Thread the thread through the small hole on the side of the bobbin and pull out about 3 cm of thread.
·Gently press down on the thread with your fingers to prevent it from slipping when you first wind the thread.
·Activate the winding function (usually by pressing the pedal) and start winding the line slowly.
·The first few turns should be slower, and then speed up when the line is fixed.
·Stop when it is almost eight points full (too full is easy to get stuck).
·Cut off the excess thread, leaving about 3 cm of thread for later use.
Tips:
·When winding, you can gently press the line layer with your fingernail to check whether it is tightly wound. Good winding should be flat and tight.
·If your sewing machine has a tension adjustment function, regular sewing threads can be adjusted to the "mid-range". If it is a thin thread, it can be slightly tightened; Loosen the thick line.
If you are operating for the first time, it is recommended to take your time, try a few more times and you will become more and more proficient! After proficiency, the entire winding process only takes a few tens of seconds to complete.

Step 3: Insert the Bobbin into the Bobbin Case/Box
This step is key, as the wrong direction can lead to knotted seams or untidy stitches.
Household sewing machines (overhead bobbin boxes):
·Open the transparent lid under the needle plate (some models require a press of the release button).
·Depending on the direction of the arrow on the lid, place the bobbin in (usually counterclockwise).
·Thread the end of the thread through a small groove (tension groove) in the bobbin box so that the bottom thread is not too loose.
·Close the lid and hear a "click" to indicate that it is ready.
Industrial sewing machines or vintage machines (front-mounted bobbin):
·Remove the metal bobbin case.
·Place the bobbin into the bobbin case in the direction of the arrow.
·The end of the thread passes through the spring piece of the bobbin case (there should be some resistance, indicating that the tension is normal).
·Push the bobbin back into the card slot until you hear a "click" and it is ready to be installed.
Tension test: Gently pull the end of the thread and it should slide out smoothly, but not too loose or too tight.
Step 4: Thread the Upper Thread (and Connect It to the Bobbin Thread)
Threading steps:
·Put the spool on the spool post, and some machines also wear an anti-jump cap.
·Thread according to the instructions on the machine: first through the tension plate→ through the take-up lever → finally through the needle (from the front to the back).
·Pull out about 10 cm of thread and set aside.
Lead to the bottom line:
·Pinch the thread of the thread with your left hand and gently turn the handwheel with your right hand (move the needle up and down once).
·When the needle rises, it brings out a small circle of the bottom line.
·With a slight pull with your right hand, you can pull the bottom thread out from under the needle board.
Step 5: Test Stitches and Troubleshoot
Before sewing clothes, it is recommended to try a few stitches on a piece of waste cloth to check whether the stitches are neat.
Key points to check:
·Whether the stitches are flat: The upper and lower threads should be evenly combined, without knots or wrinkles.
·Common Issues and Fixes:
·The bottom line or noodle line is too loose: adjust the tension plate, and if the noodle line is too loose, adjust it a little tighter.
·Wrinkled sutures: It may be that the tension on the bottom thread is too tight, and the bobbin screws can be loosened a little.
·Jumper: Check whether the bobbin direction is installed correctly.
Electronic screen error (such as E3): It may be that the bobbin is not installed properly, and it is reinstalled again after shutting down.
A few practical tips
·Clean the bobbin box regularly: After doing 2~3 items each time, use a small brush to clean the threads and dust inside to prevent the line from getting stuck.
·Classification and storage bobbin: Prepare a storage box with a lattice, sort by line number or color, and label it is easier to find.
·Test the new thread first: the newly bought wire can be sewn a few stitches on the waste cloth first to see if the tension is suitable.
Final Tips for Success
Don't look at the spool installation steps seem to be quite many, in fact, as long as you follow the steps step by step, you can learn it quickly. It can be a bit slow and not very skilled at first, which is normal. Practice a few more times, you can do it faster and faster, and after becoming proficient, you can do it in half a minute!
Remember a sentence: With the right coils, winding the thread, fitting the right direction, and threading the right thread, you can sew a neat and good-looking stitch."Now that you've learned how to install a spool, don't wait, go and try it out!
The craft of sewing is to keep practicing and hands-on, and the more you do, the better your craftsmanship.
I wish you good luck with sewing and make more and more beautiful and practical clothes and handmade gadgets!